To remove a used or damaged microphone windshield and replace it with a new one, follow the instructions below or download the quick guide here.
Preparation:
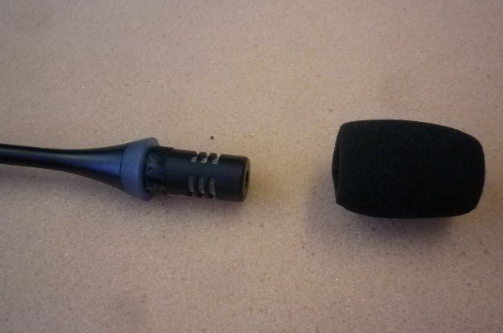
- Remove the windshield:
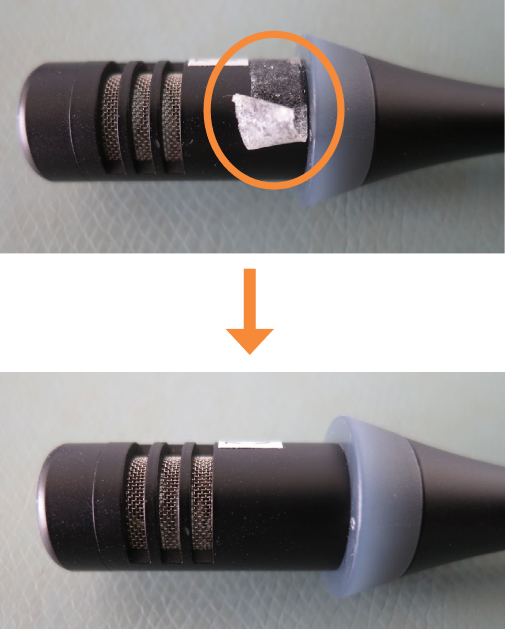
- Remove all residual adhesive residues. It is recommended to use a pH-neutral degreaser made from natural ingredients similar or identical to Metaflux Citrus Reiniger Spray.
Assembly:
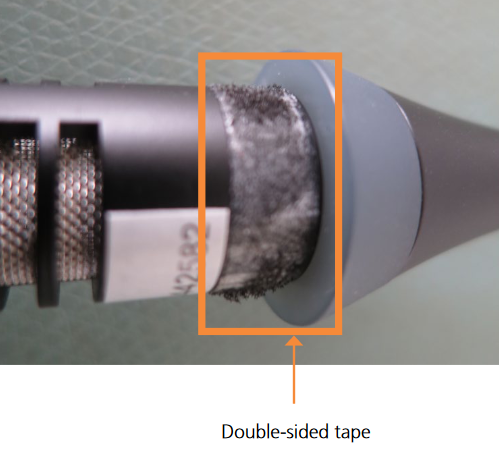
- Glue a strip of double-sided tape on the microphone head just above the LED ring. The tape strip should be 4 cm long and 5-6 mm wide.
Tape reference examples:-
- 3M™ Scotch® ATG Tape 969, 6 mm x 0.13 mm – 33 m 0.005 in. (0.13 mm) thick high-tack adhesive transfer tape. Tape is reverse wound on 1-inch diameter cores for use in Scotch ATG dispensers
- 3M™ VHB™ Adhesive Transfer Tape F9469PC, 6.35 mm x 0.13 mm – 55 m It utilizes the 3M™ High Performance Acrylic Adhesive 100MP, which has excellent long term holding power with much higher adhesion strength than typical pressure sensitive adhesive systems. This 3M™ VHB™ Adhesive Transfer Tape is transparent and is ideal for use in many interior and exterior industrial applications to replace rivets, spot welds, liquid adhesives, and other permanent fasteners.
⚠️ Make sure not to cover any microphone openings with the tape!
-
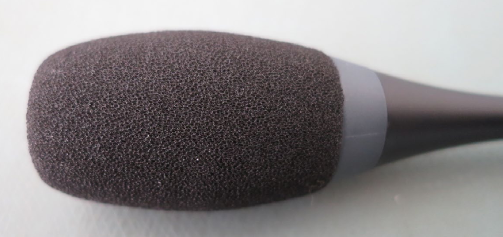
- Slide the new windshield over the microphone head until the bottom edge fully touches the LED ring, then press the windshield all around over the double-sided tape.